


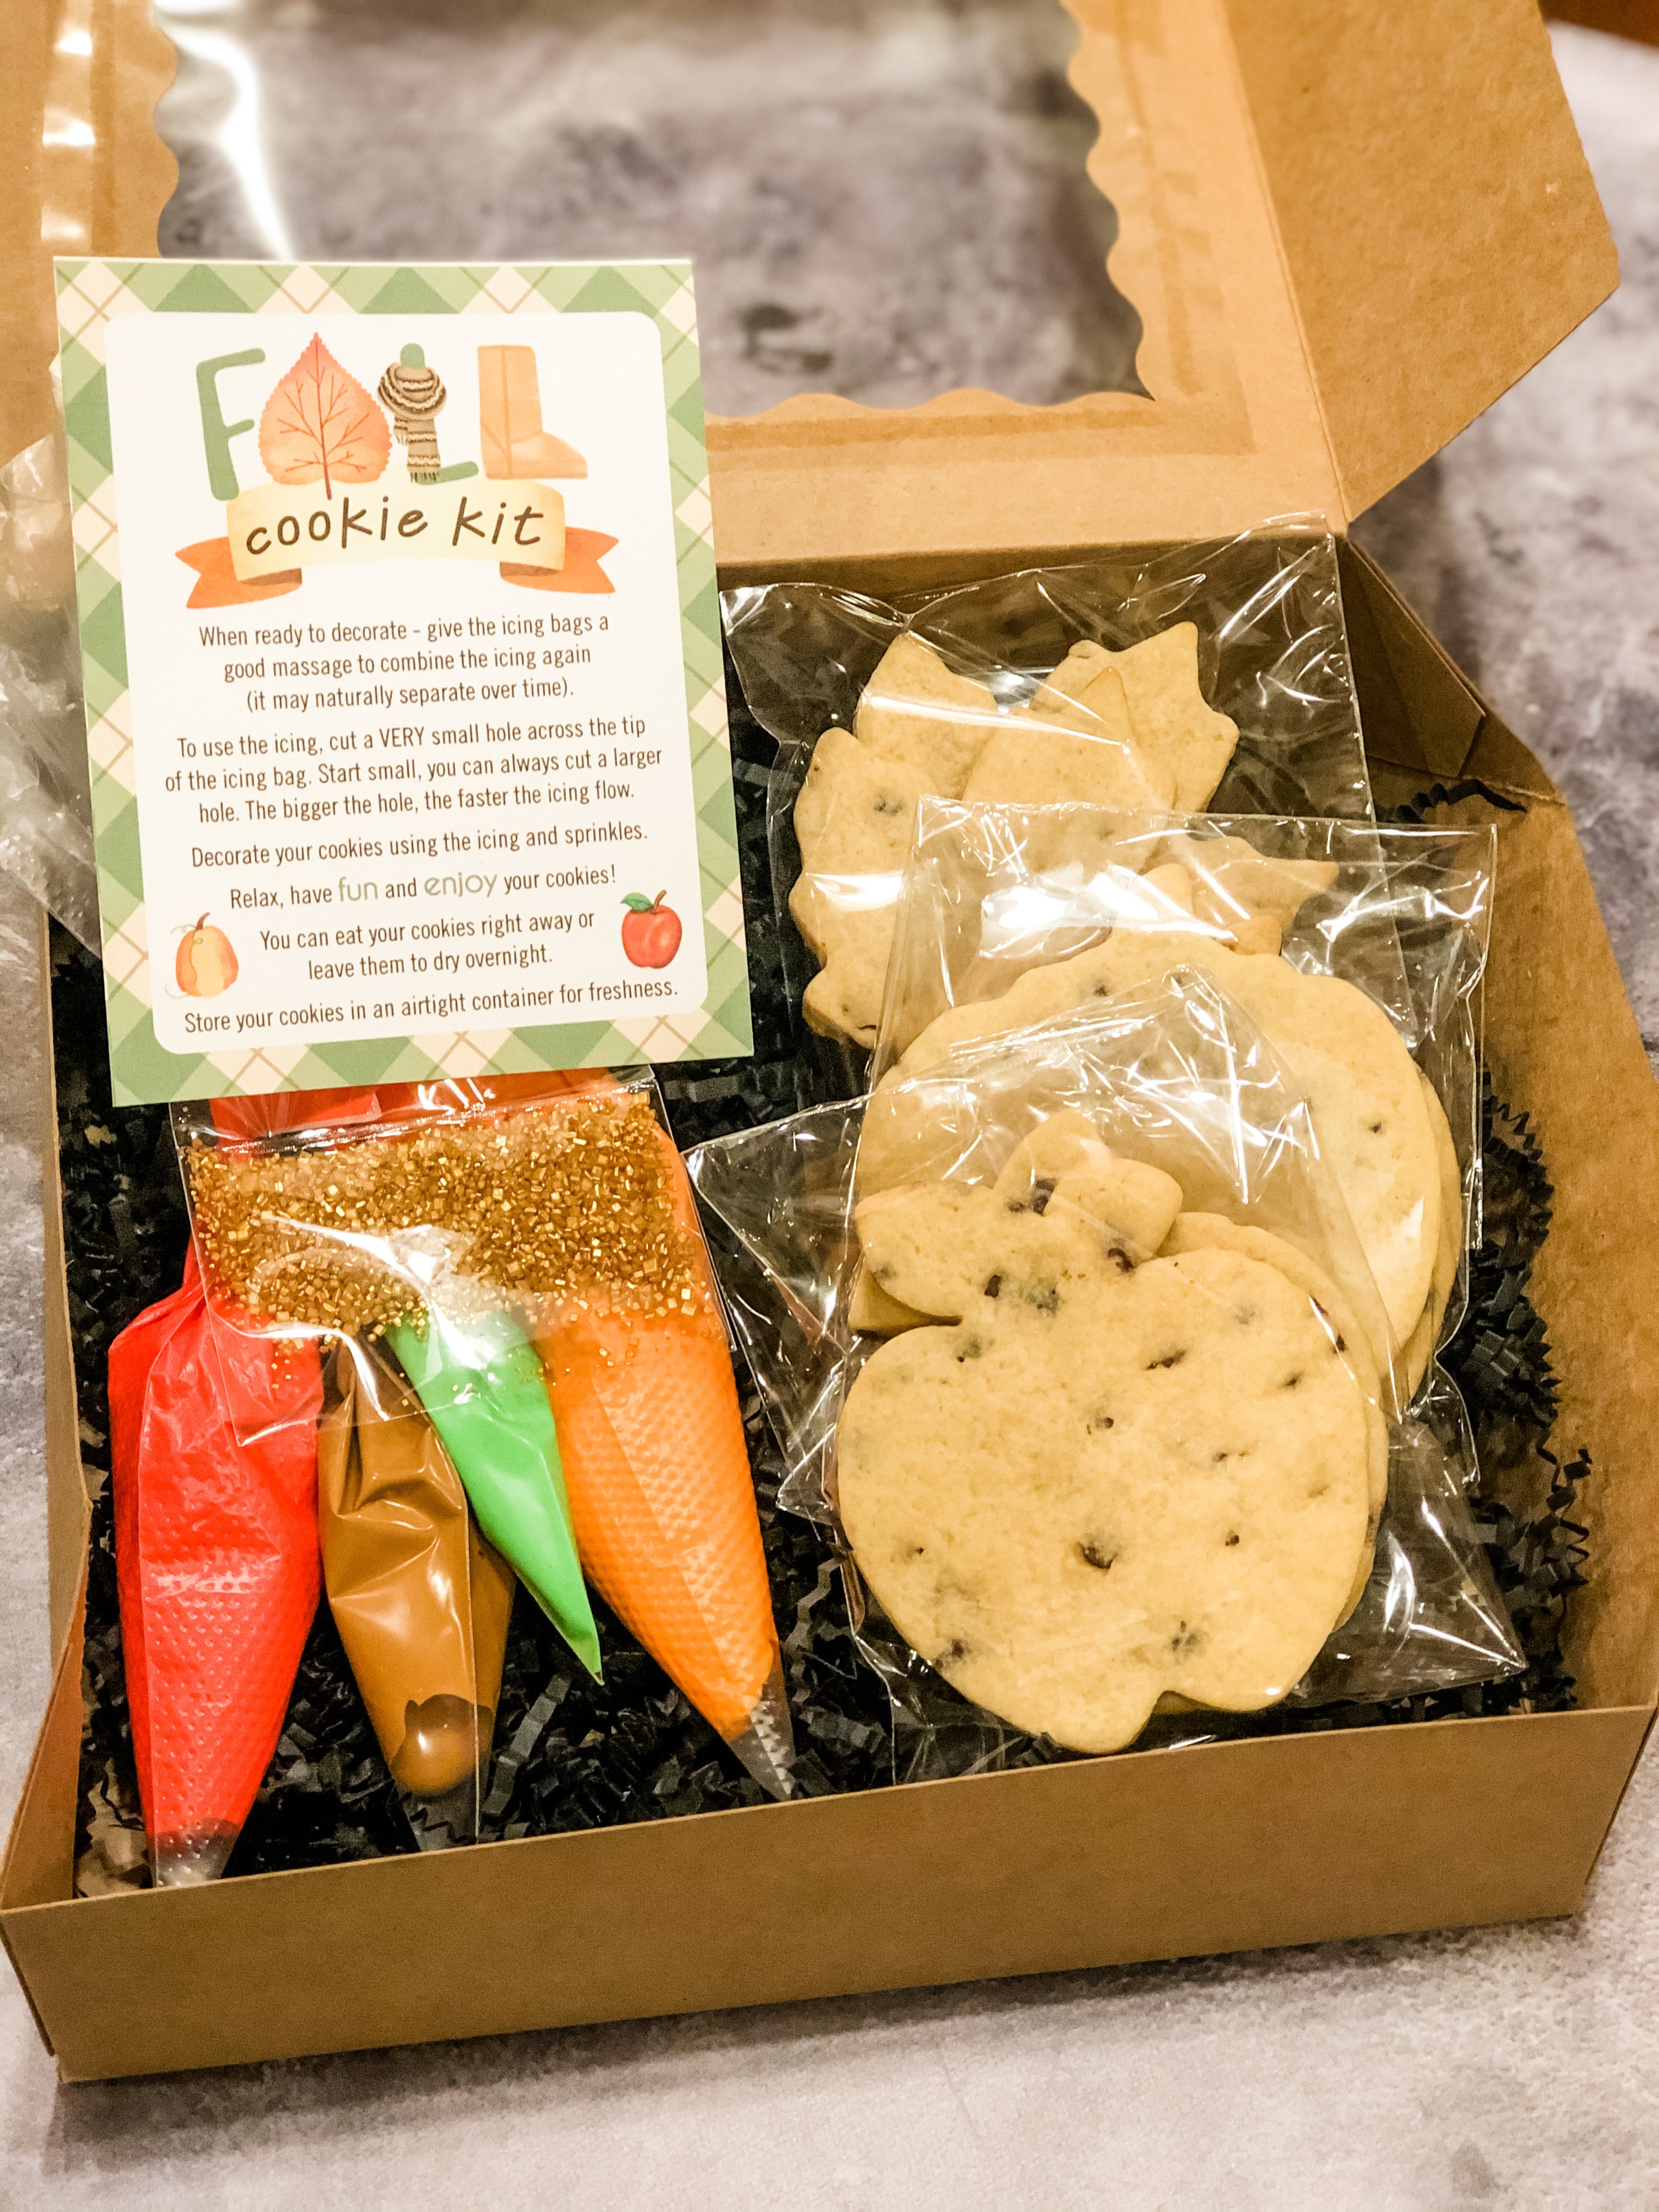
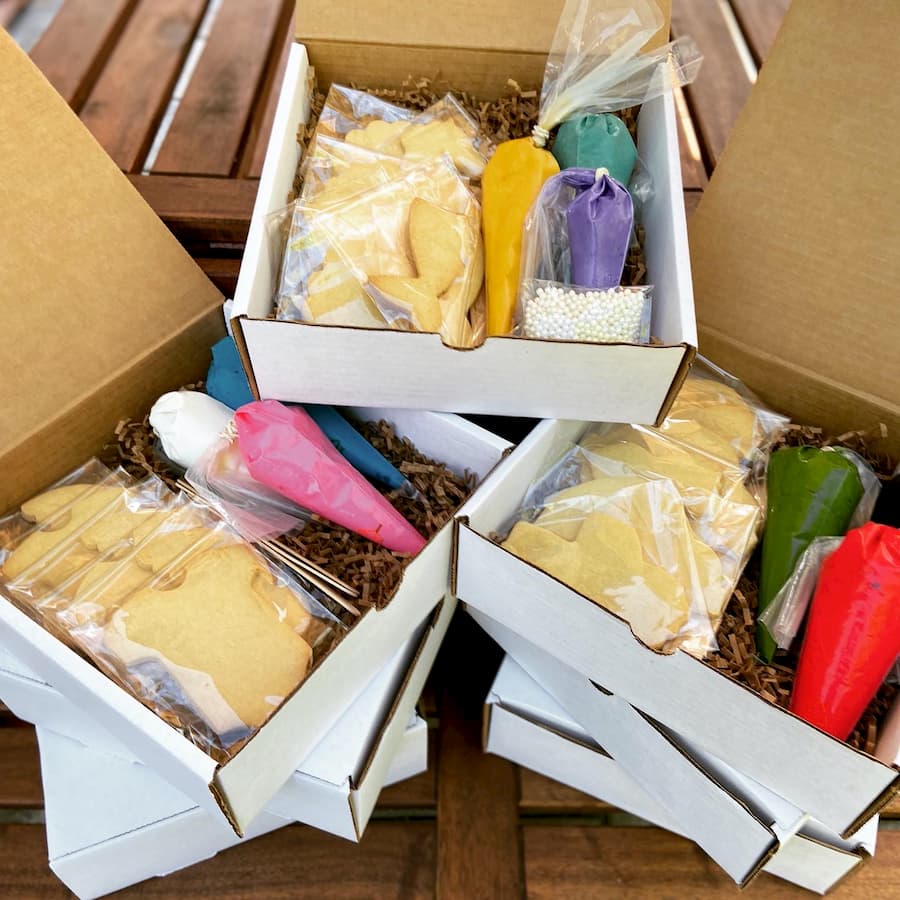
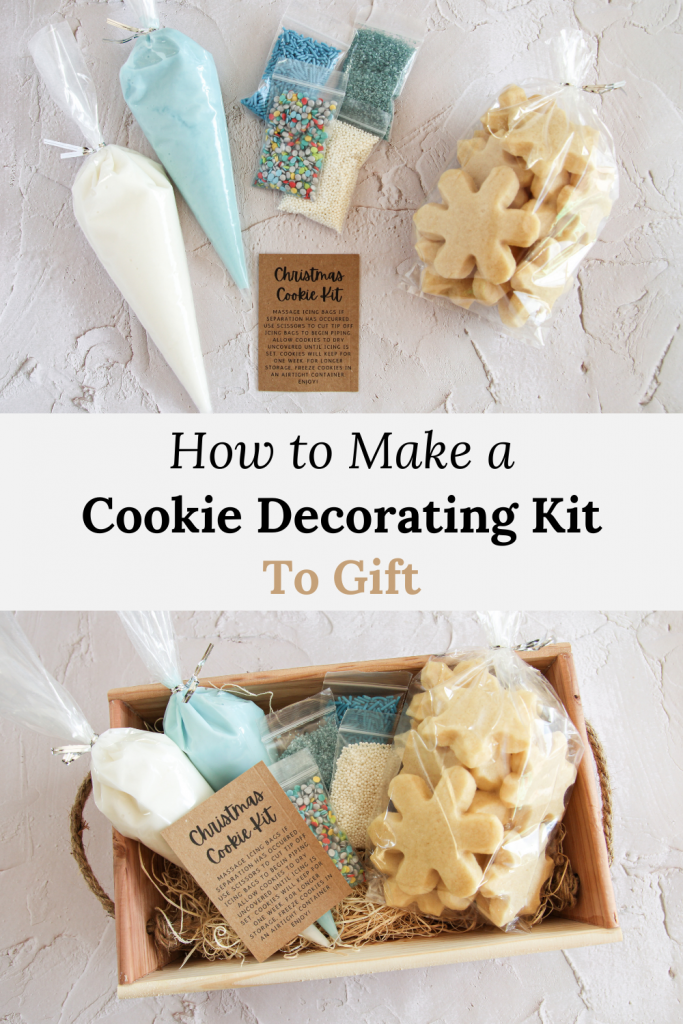
A Cookie Decorating Kit contains all the tools and supplies needed to decorate cookies. It typically includes icing, sprinkles, and various decorating tools.
Cookie decorating is a fun and creative activity for all ages. Whether hosting a birthday party or enjoying a family night, a cookie decorating kit can enhance the experience. These kits often come with easy-to-follow instructions, making them suitable for beginners.
You can create beautiful designs and delicious treats that everyone will love. From holiday-themed cookies to personalized designs, the possibilities are endless. Engaging in this activity fosters creativity and can be a delightful bonding experience. Perfect for kids and adults alike, cookie decorating brings joy and satisfaction with every bite. Get ready to unleash your inner artist!
Table of Contents
What Is A Cookie Decorating Kit?
A Cookie Decorating Kit is a fun and creative way to decorate cookies. It makes cookie decorating easy for everyone. These kits include all the tools and supplies needed to create beautiful cookies. People of all ages can enjoy this activity. Whether for a birthday, holiday, or just for fun, a cookie decorating kit can spark joy and creativity.
Components Of A Kit
Each cookie decorating kit has several important components. These items help make decorating easy and enjoyable. Here are the typical components found in a cookie decorating kit:
- Cookies: Pre-baked cookies in various shapes.
- Icing: Different colors and types of icing for decoration.
- Decorations: Sprinkles, edible glitter, and other toppings.
- Piping bags: For easy icing application.
- Instructions: Step-by-step guides for decorating.
Here’s a quick overview of how each component works:
| Component | Purpose |
|---|---|
|
Cookies |
Base for decoration. |
| Icing | Adds color and design. |
| Decorations | Enhances the look. |
| Piping bags | Makes icing easy to apply. |
| Instructions | Guides the decorating process. |
These components work together to help you create amazing cookies. The best part is that anyone can use them, from beginners to experienced bakers.
Types Of Kits Available
Cookie decorating kits come in many types. Each type offers unique features and themes. Here are some popular types:
- Holiday Kits: Special designs for holidays like Christmas or Halloween.
- Birthday Kits: Fun themes for birthday celebrations.
- Kids’ Kits: Simple designs for younger decorators.
- Advanced Kits: More complex designs for experienced decorators.
- DIY Kits: Allow you to bake your cookies and decorate them.
Here’s a quick comparison of these kits:
| Kit Type | Target Audience | Skill Level |
|---|---|---|
| Holiday Kits | All ages | Beginner |
| Birthday Kits | Kids | Beginner |
| Kids’ Kits | Young children | Beginner |
| Advanced Kits | Teens and adults | Advanced |
| DIY Kits | All ages | Intermediate |
Choose a kit that fits your occasion. Each type ensures fun and creativity while decorating cookies.
Credit: www.sugarshells.net
Choosing The Right Kit
Choosing the right cookie decorating kit can make baking fun and enjoyable. With so many options, it’s easy to feel overwhelmed. Each kit offers different tools and designs. Understanding your skill level and theme preferences helps find the perfect kit. Let’s explore how to choose the best cookie decorating kit for your needs.
Skill Level Considerations
Understanding your skill level is important for selecting a cookie decorating kit. Different kits cater to various abilities. Here’s how to choose based on your skills:
- Beginner: Look for kits with simple designs and easy-to-use tools.
- Intermediate: Select kits that include a variety of piping tips and stencils.
- Advanced: Choose kits that offer intricate designs and advanced techniques.
Here’s a helpful table to guide your choice:
| Skill Level | Recommended Features |
|---|---|
| Beginner | Basic shapes, pre-made icing |
| Intermediate | Multiple piping tips, templates |
| Advanced | Advanced techniques, detailed designs |
Pick a kit that matches your skills. This ensures a fun and successful decorating experience. Don’t worry if you’re new. Many kits come with instructions. Practice helps improve your skills!
Theme Selection
Themes make cookie decorating exciting. Choosing a theme can inspire creativity. Here are some popular themes:
- Holidays: Christmas, Halloween, or Easter themed kits.
- Birthday: Kits with fun colors and shapes like balloons or cakes.
- Seasonal: Spring flowers or autumn leaves designs.
Use these tips for selecting a theme:
- Decide the occasion. What are you celebrating?
- Consider the age group. Kids might enjoy cartoon characters.
- Match colors to the theme. Bright colors attract attention!
Many kits come with themed decorations and ideas. Check the kit contents. Make sure it fits your chosen theme. This will help you create beautiful cookies that impress everyone!
Essential Tools In Decorating
Creating beautiful cookies is a fun activity. Using the right tools makes decorating easier. Essential tools in decorating help you achieve amazing designs. A cookie decorating kit includes many important items. Knowing what each tool does can boost your cookie skills.
Piping Bags And Tips
Piping bags are crucial for decorating cookies. They allow you to control icing flow easily. Different tips create various designs. Here are some common piping tips:
- Round Tip: Perfect for outlines and dots.
- Star Tip: Great for rosettes and stars.
- Leaf Tip: Ideal for leaves and flower petals.
Choose a strong piping bag that can hold thick icing. Disposable bags are convenient for quick clean-up. Reusable bags save money in the long run. Here’s a simple table for quick reference:
| Type of Piping Bag | Pros | Cons |
|---|---|---|
| Disposable | Easy to use, no clean-up | Single-use only |
| Reusable | Eco-friendly, long-lasting | Requires cleaning |
Practice makes perfect. Try different techniques with your piping bags. Soon, you’ll create stunning cookie designs!
Spatulas And Scrapers
Spatulas and scrapers are key tools for cookie decorating. They help spread icing smoothly. A good spatula can lift cookies without breaking them. Here are the types of spatulas you might need:
- Offset Spatula: Great for spreading icing evenly.
- Rubber Spatula: Perfect for scraping bowls clean.
Scrapers are also important. They help smooth edges and create clean lines. Choose a scraper that fits your hand well. Here’s a quick comparison:
| Type of Scraper | Best For |
|---|---|
| Bench Scraper | Smoothing icing on large cookies |
| Plastic Scraper | Delicate detailing |
Use spatulas and scrapers to create beautiful layers and designs. Clean your tools often for the best results. With practice, you will master cookie decoration!
Credit: www.thechocolatedozen.com
Fun Decorating Techniques
Cookie decorating is a fun activity for all ages. A Cookie Decorating Kit makes it easy and exciting. With various tools and ingredients, you can create amazing designs. Let’s explore some fun decorating techniques to make your cookies stand out!
Royal Icing Techniques
Royal icing is a popular choice for cookie decorating. It dries hard, making it perfect for detailed designs. Here are some techniques to try:
- Flooding: This technique fills the cookie surface with icing. Use a thicker icing to outline the shape. Then, use a thinner icing to fill it in.
- Piping: Create detailed designs on cookies. Use a piping bag with a fine tip. This allows for intricate patterns and decorations.
- Marbling: Mix two or more colors of icing. Use a toothpick to swirl the colors together. This creates a beautiful marbled effect.
Here’s a simple table for icing consistency:
| Type of Icing | Consistency |
|---|---|
| Outline Icing | Thick, holds shape |
| Flood Icing | Medium, flows easily |
| Piping Icing | Thick, for details |
Practice these techniques to create beautiful cookies. Enjoy the process and let your creativity shine!
Using Edible Glitter
Edible glitter adds a magical touch to your cookies. It sparkles and shines, making your designs pop. Here’s how to use it:
- Choose the Right Glitter: Select edible glitter that is safe for food. Check the ingredients before buying.
- Apply After Icing: Once your icing is dry, sprinkle glitter on top. This ensures it sticks well.
- Use a Brush: For a more controlled application, use a clean brush. Dip it into glitter and lightly brush it onto the cookie.
Here are some tips for using edible glitter:
| Tip | Description |
|---|---|
| Less is More | Start with a small amount. You can always add more. |
| Mix Colors | Combine different glitter colors for unique designs. |
| Experiment | Try different shapes of glitter for fun textures. |
Using edible glitter is a great way to make your cookies shine. Kids love the sparkly effect, making decorating even more fun!
Coloring Your Icing
Coloring your icing is one of the most exciting parts of using a Cookie Decorating Kit. Bright colors make your cookies pop and look delightful. Kids and adults alike enjoy playing with colors. Whether you want pastel shades or bold hues, the right food coloring can help you achieve your goals. This section will explore different types of food coloring and how to mix them effectively.
Types Of Food Coloring
There are several types of food coloring available. Each type has its own benefits. Here’s a quick overview:
- Liquid Food Coloring: Easy to find and use. It works well for beginners.
- Gel Food Coloring: Concentrated and offers vibrant colors. A little goes a long way.
- Powdered Food Coloring: Great for dry mixes. Ideal for royal icing.
- Natural Food Coloring: Made from fruits and vegetables. Healthier option, but colors may be lighter.
Here’s a quick comparison table:
| Type | Pros | Cons |
|---|---|---|
| Liquid | Easy to use | May dilute icing |
| Gel | Vibrant colors | More expensive |
| Powdered | Good for dry mixes | Can be hard to find |
| Natural | Healthier | Less vibrant colors |
Choose the type that fits your needs. Gel food coloring is popular for cookie decorating due to its intensity. Liquid is perfect for beginners. Powdered is best for intricate designs.
Mixing Colors Effectively
Mixing colors can create unique shades for your icing. Start with primary colors: red, blue, and yellow. You can combine them to make secondary colors like green, orange, and purple.
Here’s how to mix colors:
- Use a clean bowl and spoon.
- Add a small amount of the first color.
- Gradually add the second color.
- Stir well until blended.
- Test the color on a small piece of parchment paper.
Consider these tips for mixing:
- Start small: Use tiny amounts to avoid waste.
- Mix gradually: Add more color if needed.
- Keep a record: Write down your color combinations for future reference.
Experiment with different mixtures. Each color adds joy to your cookie decorating experience. Enjoy the creative process!
Storing Decorated Cookies
Decorating cookies is a fun activity for all ages. After spending time creating beautiful designs, you want to keep them fresh. Storing decorated cookies properly ensures they stay tasty and look great for days. Follow these tips for the best results.
Best Storage Practices
To keep your decorated cookies fresh, follow these simple storage practices:
- Cool Completely: Allow cookies to cool fully before storing. This prevents moisture buildup.
- Use Airtight Containers: Place cookies in airtight containers to keep them fresh.
- Separate Layers: Use parchment paper between layers of cookies. This avoids sticking.
- Store at Room Temperature: Keep cookies in a cool, dry place.
- Avoid Refrigeration: Refrigerating cookies can make them hard.
Here’s a quick table showing how to store different types of decorated cookies:
| Cookie Type | Storage Method |
|---|---|
| Royal Icing Cookies | Airtight container, room temperature |
| Chocolate-Dipped Cookies | Airtight container, cool place |
| Sprinkle Cookies | Airtight container, room temperature |
Following these best practices will help keep your decorated cookies fresh and beautiful.
Shelf Life Of Decorated Cookies
The shelf life of decorated cookies depends on several factors. Here’s what you need to know:
- Royal Icing Cookies: Last 1-2 weeks at room temperature.
- Chocolate-Dipped Cookies: Stay fresh for about 1 week.
- Sprinkle Cookies: Can last up to 2 weeks.
Store cookies properly to maximize freshness. Check for signs of spoilage, like changes in texture or smell. If they feel hard or dry, they may not taste good.
For longer storage, consider freezing cookies. Here’s how:
- Wrap cookies in plastic wrap.
- Place them in a freezer-safe container.
- Label the container with the date.
Frozen decorated cookies can last up to 3 months. When ready to eat, thaw them at room temperature. Enjoy your sweet treats anytime!
Common Mistakes To Avoid
Cookie decorating can be fun and creative. A Cookie Decorating Kit makes it easy to create beautiful treats. Yet, many people make mistakes. Avoiding these common mistakes helps improve your cookie decorating skills. Let’s explore some key pitfalls.
Icing Consistency Issues
One of the biggest challenges in cookie decorating is getting the icing consistency right. If your icing is too thick, it won’t flow well. If it’s too thin, it will run off the cookie. Here are some tips to achieve the perfect icing consistency:
- Thick Icing: Ideal for outlining cookies.
- Medium Icing: Great for flooding and filling shapes.
- Thin Icing: Best for details and fine lines.
Check this simple table to see the different consistencies:
| Icing Type | Consistency Description | Usage |
|---|---|---|
| Thick | Stiff, holds shape | Outlining |
| Medium | Flowing but holds shape | Flooding |
| Thin | Very runny, resembles water | Detail work |
To test your icing, do the “ribbon” test. Dip a spatula in the icing and lift it. It should fall back in a smooth ribbon. Adjust with water or powdered sugar as needed.
Overdecorating
Another common mistake is overdecorating your cookies. It can be tempting to use all the colors and designs in your Cookie Decorating Kit. Less is often more. Here are some tips to avoid overdecorating:
- Choose a Theme: Stick to two or three colors.
- Focus on Details: Add small decorations instead of large ones.
- Balance Designs: Leave some areas simple to highlight details.
Remember, cookies are still treats. They should look tasty, not overwhelming. Here are some key points to consider:
- Pick a central design element.
- Limit the use of sprinkles and other toppings.
- Use piping to create clean lines and shapes.
By avoiding overdecorating, your cookies will look elegant and inviting. Keep it simple, and enjoy the decorating process!
Creative Ideas For Cookie Themes
The Cookie Decorating Kit opens up a world of fun and creativity. With endless possibilities, you can create unique themes for your cookies. Transform plain cookies into delightful treats that match any occasion. Here are some creative ideas to inspire your next cookie decorating adventure!
Seasonal Themes
Seasonal themes bring joy and excitement to cookie decorating. Celebrate each season with special designs. Here are some seasonal ideas:
- Spring: Use pastel colors and floral shapes.
- Summer: Create beach-themed cookies like suns and surfboards.
- Fall: Decorate cookies as pumpkins, leaves, and acorns.
- Winter: Design snowflakes, mittens, and Christmas trees.
Each season offers its own colors and symbols. You can use the following table for inspiration:
| Season | Cookie Shape | Color Palette |
|---|---|---|
| Spring | Flowers, Eggs | Pastels (Pink, Yellow, Green) |
| Summer | Suns, Ice Creams | Bright Colors (Blue, Orange, Yellow) |
| Fall | Leaves, Pumpkins | Warm Colors (Red, Brown, Gold) |
| Winter | Snowflakes, Gifts | Cool Colors (White, Blue, Silver) |
Seasonal cookies can make any gathering more festive. Let your imagination run wild with these ideas!
Personalized Designs
Personalized designs add a special touch to your cookies. Tailor each cookie for a friend or family member. Use their favorite colors, shapes, or themes. Here are some ideas:
- Names: Write names on cookies with icing.
- Hobbies: Create cookies that represent their interests.
- Special Dates: Celebrate birthdays or anniversaries with unique designs.
- Favorite Foods: Make cookies shaped like their favorite snacks.
Check out this list for personalized cookie ideas:
- Decorate cookies with initials.
- Make cookies in the shape of pets.
- Create a cookie that looks like a favorite book character.
- Design cookies inspired by favorite movies.
Personalized cookies show thoughtfulness. They make each occasion feel special. Use these ideas to create cookies that bring smiles!
Credit: aberlehome.com
Frequently Asked Questions
What Do Professionals Use To Decorate Cookies?
Professionals use royal icing, fondant, and food coloring to decorate cookies. They often employ piping bags, spatulas, and brushes for precision. Edible glitter and sprinkles add extra flair. These tools and ingredients help create detailed, vibrant designs that enhance the cookie’s appearance and taste.
What Tools Are Needed For Cookie Decorating?
Essential tools for cookie decorating include piping bags, various tips, food coloring, spatulas, and cookie cutters. Use a sifter for powdered sugar and a turntable for easy decorating. Don’t forget to have parchment paper and a cooling rack on hand for convenience.
What Can I Use To Practice Cookie Decorating?
Practice cookie decorating with royal icing, piping bags, and various sprinkles. Use different cookie shapes for variety. Consider tutorials online for techniques. Baking sheets and parchment paper help with setup. Start with simple designs, then progress to more intricate ones for improved skills.
Enjoy the creative process!
Can You Use A Cricut For Cookie Decorating?
Yes, a Cricut can be used for cookie decorating. It helps create precise stencils and intricate designs. You can cut edible materials like fondant or use it for non-edible decorations. This tool enhances creativity and accuracy in cookie art. Enjoy personalized designs for any occasion!
Conclusion
A cookie decorating kit can transform baking into a fun and creative experience. Whether for a special occasion or a simple family activity, these kits offer endless possibilities. Choose vibrant colors and unique designs to unleash your creativity. Enjoy the joy of decorating and share delicious treats with loved ones.
Happy baking.


0 Comments